
10 Measuring in feet and inches
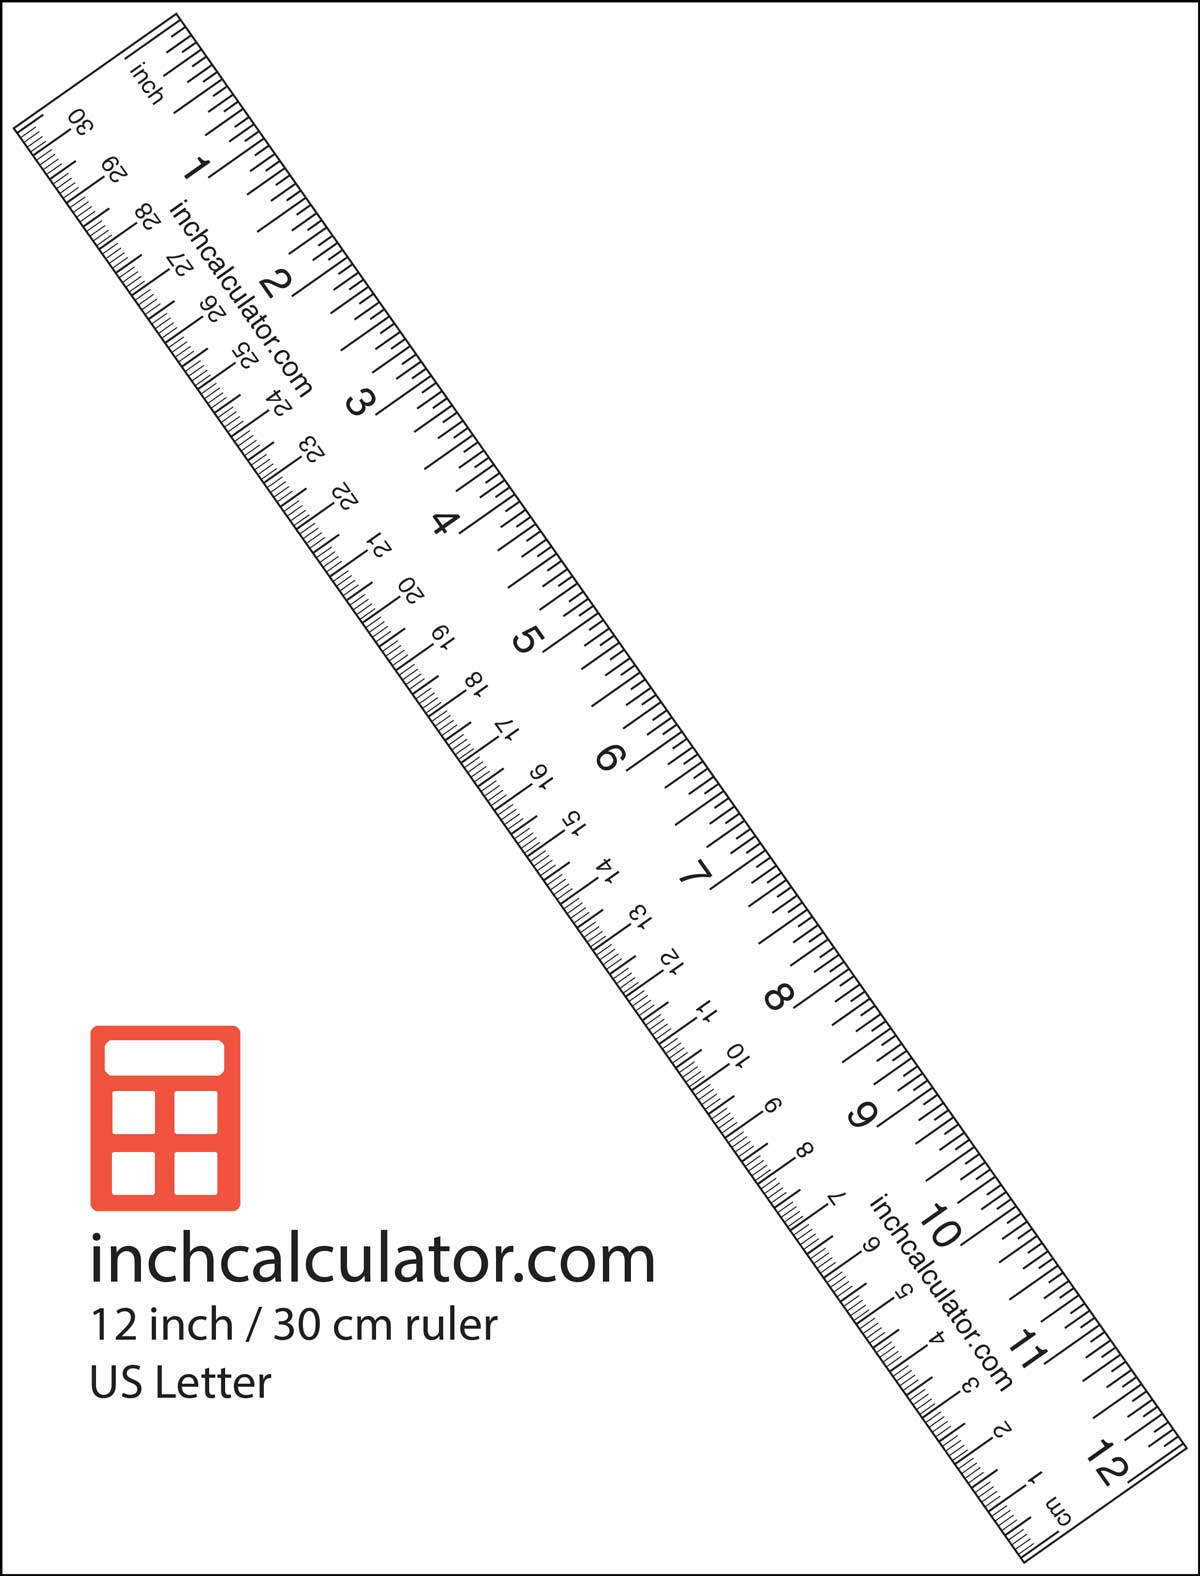
You can download your free printable rulers from InchCalculator.com (see example above).
Cost: About $3.00 ~$5.00 Difficulty: Low to Moderate Time: Hour Continuous: Yes
Summary:
Teach students about measurements, fractions, relative size, height, and distance. This will build upon their general understanding of math, by giving numbers meaning. Rather than calculating the side of a triangle, how about measuring the size of that very large tree they climbed. Or a basketball hoop, the size of a student’s shoe, the tallest person in class. This project should be done over time. It would be better to buy actual rulers for extended use, however this gives you an inexpensive alternative for providing a useful in class and out-of-class tool. The cheapest price I have found rulers is $0.19 each for the plastic yellow type. You may be able to find them for less than $0.33 cents at general or discount stores. Most rulers have inches on one side and centimeters on the other. Clarify which side you’re using.
ELO’s – Measurements, Math, understanding relative size & space, spatial awareness & understanding, observation, discussion, building a hypothesis, critical thinking.
Supplies needed: Paper, construction paper (a ruler shape can be traced onto the paper with inch marks) or actually printed rulers, pencils and scratch paper.
Activity
- 1) Have students start using the rulers to understand how to make basic measurements and how to identify marks on the ruler. Discuss the parts of the ruler with the class. Why we have them? Which side is inches? Which side is metric? Where is a half inch? Why does the metric system exist?
Pro-tip: If you have never handled a ruler or measuring tape, it would be highly advised that you practice on your own time prior to doing the activity. The inch side is labeled Inch or in.
- 2) To start off with, just have the students learn how to read the ruler using whole numbers only. How many inches is a random book, a student’s foot, or their own hand? Round up or round down. Have students lay down on the floor. How many inches tall are they?
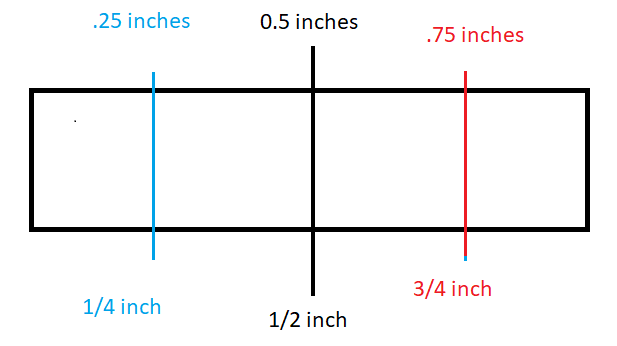
- 3) As the students become more comfortable with using the rulers with whole numbers, begin basic fractions and Again have the students either round up or down. 5.25 or 5 ¼,
5.5 inches or 5 ½, and 5.75 or 5 3/4 inches.
Pro-tip: Keep it simple. Students can build upon what was learned in the factions and time lesson.
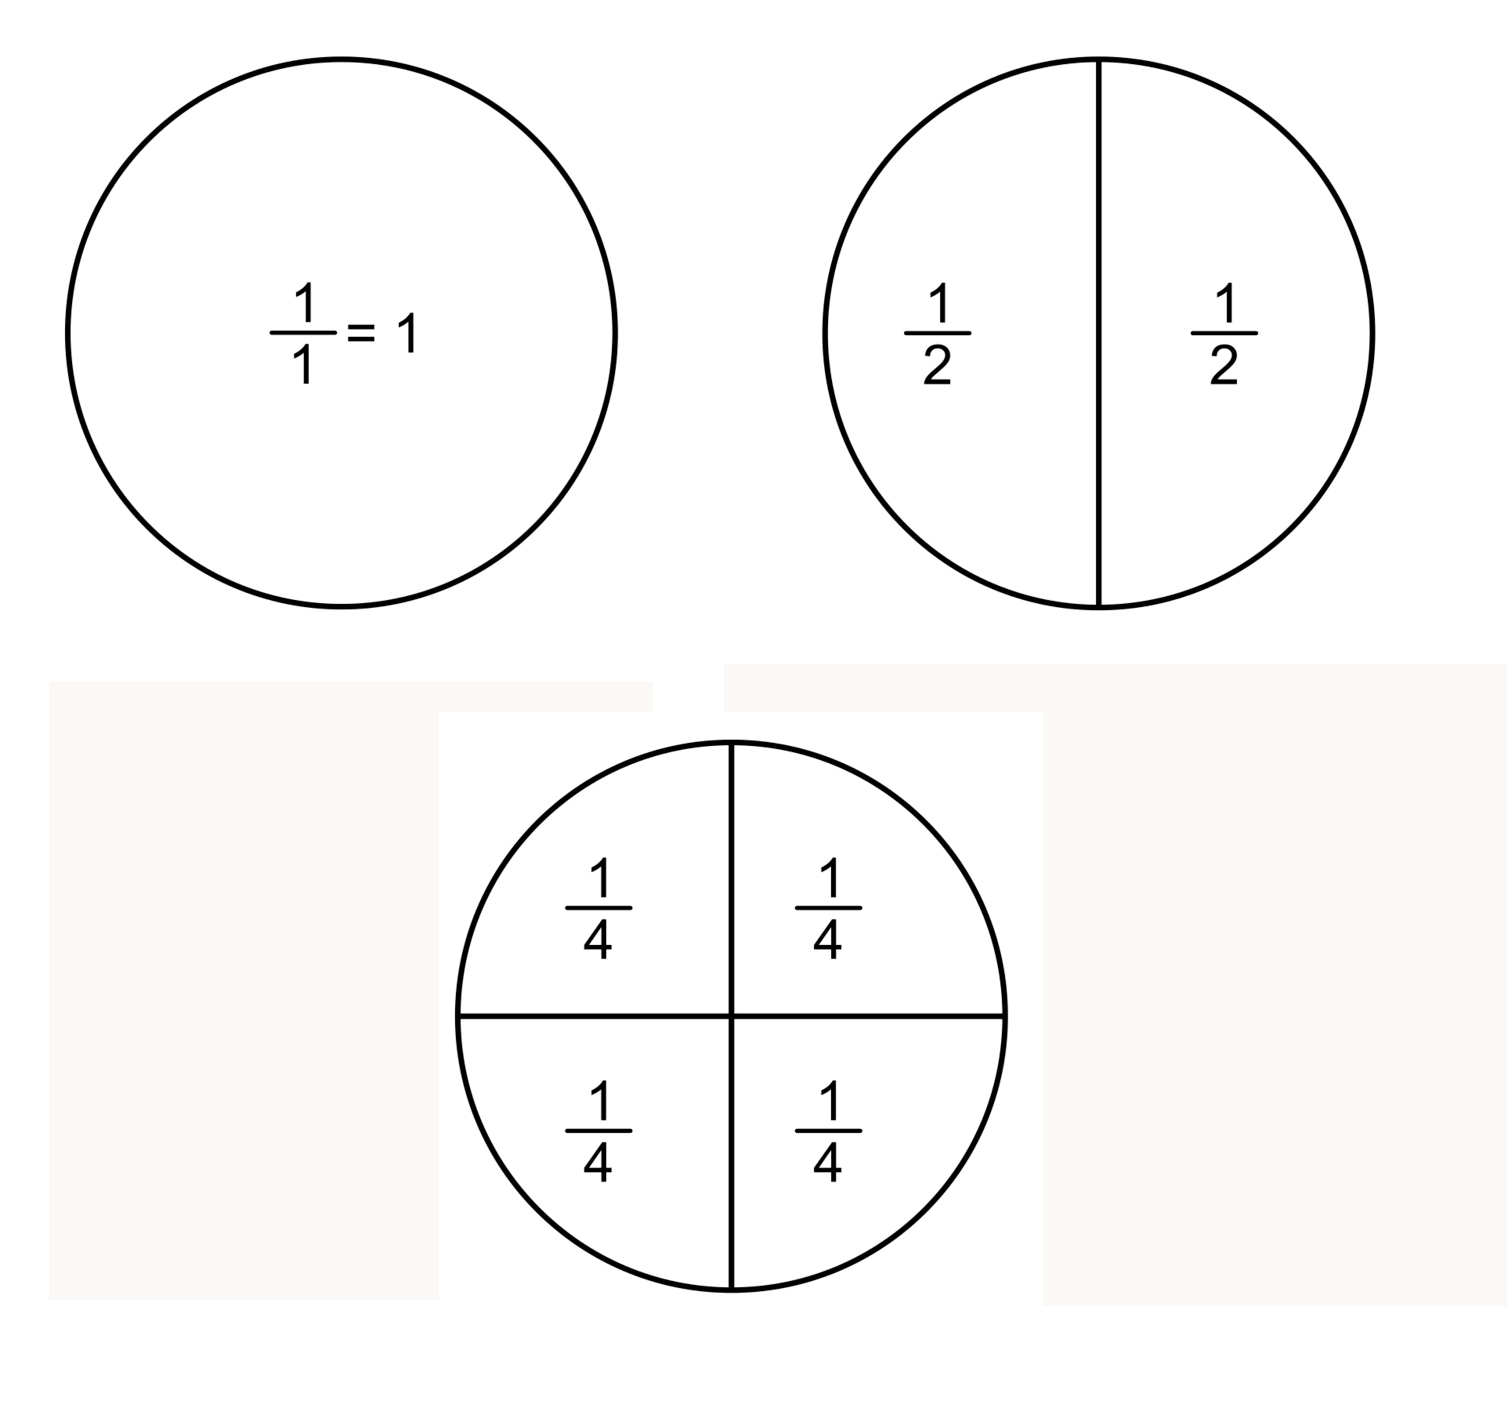
- Show each of these on the board first. What does half of something looking like? Draw a pie (circle) and then divide it in half. Draw a pie (circle) divided into ¼’s.
- Shade in a section of your shape and explain its value to the class. Half of a cookie. Half of a pie. If you eat half of a cookie how much is left? This is associating critical reasoning with basic word problems and arithmetic.
- Have students count the sections of each pie graph, and then write the fraction or decimal value on the board. This method will help them visualize what they are doing. The primary difficultly will be for them to memorize and use the correct terminology with what is being asked. Be consistent. If you just started fractions, only do fractions. If you are doing decimals, only do decimals. Don’t switch back and forth suddenly; unless you are certain students have a basic understanding of one or the other. They will get there. Once they have mastered one, start practicing the other. After that feel free to mix it up.
- 4) Repeat Step 2 again, this time using whole numbers, halves, or
- 5) If students have learned the basis of fractions or decimals, repeat Step 2 using the
Example: If first you did fractions with the class, now do decimals.
Optional Games:
Consider fraction or decimal bingo. Make bingo cards 5 x 5 squares. Fill in randomly with fractions and decimals. This will help students read the fractions on their sheets. Present called numbers on the white board/ chalk board to assist with the learning process.