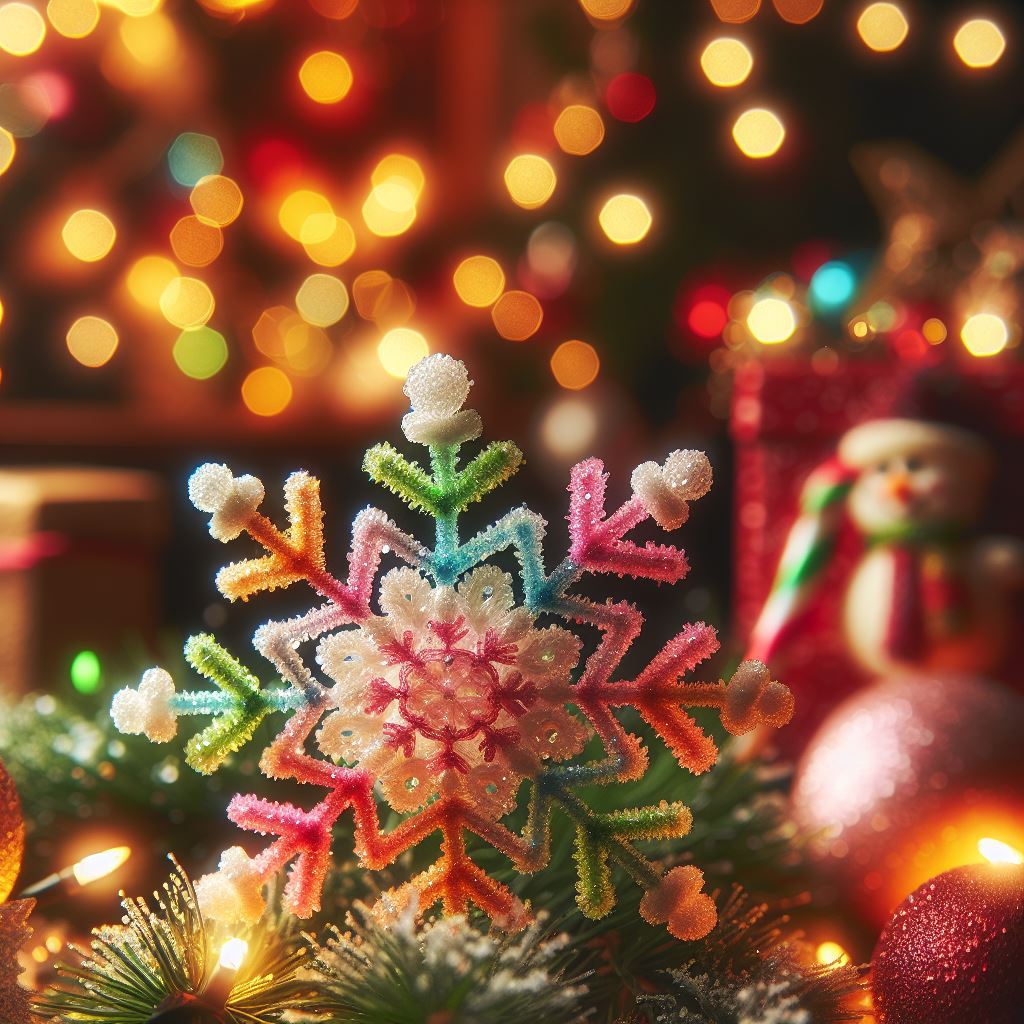
5 Sugar crystal decorations
 Cost: $10.00 ~ $20.00 Difficulty: Low Time: hour Continuous: Yes (about 1~2 weeks)
Image resolution of ornament too low, need new one.
Summary:
Make a supersaturated solution with sugar and learn about crystal formations. If you use cake pop wooden skewers, students can eat these. I don’t recommend students eating crystals on pipe cleaners due to metal wire being inside, however advanced shapes can be formed with pipe cleaners such as: animals, letters, etc. The cost of this project depends on size of group.
ELO’s – Saturation, solutions, dissolving, solute, solvent, basic crystal formation, chemistry, molecules, observation, discussion, building a hypothesis, critical thinking.
Supplies needed:
- small mason jars
- water
- access to a microwave
- sugar
- cake pop sticks
- pencils or dowels
Activity
1. Pour 3 cups of sugar into a microwave safe container.
2. Add 1 cup of water to the sugar and stir the container.
3. Microwave your solution on high for 2 minutes. (The required time varies per microwave to due wattage). You can also use a stovetop but a microwave is easier. Use caution removing the solution from the microwave (use an oven mitt since it will be hot) and stir it, again.
4. Microwave the solution for an additional 2 minutes on high, stirring afterwards.
5. Add several drops of food coloring and stir it into the solution.
6. Sugar should be dissolved. Transfer the solution into a smaller glass mason jar.
Pro-tip: Allow the solution to cool to room temperature, this is very important before giving students access to jars. Will prevent accidents such as burns if spilled.
Cake pops & skewers: (If using cake pops & skewers, skip steps 10~14)
7. After solution is cool, place several cake pops or skewers into each masonry jar and place in a location where they will not be disturbed.
8. Check the jars every day and lightly stir to break up crystals forming on the side of the glass. Be careful not to break off crystals forming on cake pop sticks.
9. Within a few days you should see crystals, after about 1 week you should have a lot of crystals.
Pipe cleaners: Create an ornament shape using pipe cleaners (star, a letter, number, etc.). (If not using pipe cleaners skip to Step 15.)
10. Wrap the end of the pipe cleaner around the center of a pencil so it will hang properly in the masonry jar.
11. Dip your ornament into the solution to get it initially wet.
12. Lay your ornament on a sheet of parchment paper to dry.
13. Place the dried ornament back into the solution carefully, avoiding the side and bottom of the jar. (This will allow the sugar to better stick to the pipe cleaner with dried sugar solution already on the pipe cleaner.)
14. Allow the solution and ornament to sit for at least one week.
15. Pull the stick or ornament out of the jars and let it dry on the parchment paper.
16. Have students observe what happened. What do they think happened?
Discussion
A delicious rock candy is ready for eating or a pretty crystal ornament is ready for decorating. Thank you science! But what happened exactly? We put 3 cups of sugar into 1 cup of water; creating a supersaturated solution. A supersaturated solution means that there is more solute (the sugar) than the solvent (the water) can usually hold.
We were able to dissolve more sugar (solute) because he heated up the water (solvent). When water is heated, the water molecules spread apart; creating microscopic expansion. This allows the sugar to mix better. Some supersaturated solutions become very unstable. Adding anything to the solution can trigger a reaction. Thankfully, this isn’t the case with your sugar solution.
If you used pipe cleaners
Dipping your pipe cleaner ornament into the solution and allowing it to dry creates a small layer of sugar crystals around the pipe cleaner. These crystals dissolve in the solution, but the pipe cleaner gives them a surface they can use to recrystallize onto. When the ornament is dipped back into the solution, this small layer makes a better (and easier) surface for the sugar crystals to crystallize on. Over the course of a week, you can see just how much sugar is crystallized on your ornament… and there’s a ton more sugar still dissolved!
As for the sugar pops or skewers, the sugar molecules in it started to join with the sugar molecules on the sticks. The sugar on the sticks are called “seed” molecules and the sugar molecules in the solution attached themselves to the seed molecules.
Meanwhile, as the water in the cup began evaporating (dry up), more sugar molecules were left behind. Sugar molecules form together making larger cystals. Because all of the sugar (solute) molecules are the same, they stick together, making a big crystal chunks!
Pro-tip: Never eat any experiment unless it is made entirely out of food and you only used clean dishes to prepare it! Your students’ safety is most important.
Other types of crystals that can be grown:
As a general rule, I like to provide additional information on how the experiments can be done, but with a word of caution. Besides sugar, crystals can be grown with Epson salt, Borax cleaner, alum (found in spice aisle), & table salt. Out of all of these I recommend sugar or table salt.
Both of these are safe to use in the classroom and you don’t have to worry about the students eating it.
Pro-tip: Prevent potentially fatal accidents by avoiding Epson salt and Borax cleaner all together. Even if your students in class understand the danger, they may have younger siblings at home who could potentially ingest it.
