
Chapter 2: Line Reading and Exercises
Sketchbook:
From observation:
Practice drawing your hands, shoes, keys, or favorite objects. When you sit down to draw, plan the placement and location of your subject matter on a tabletop, floor, desk, etc. Just sit and look – look for as long as you can. Notice how and where light is hitting the surface and locate your shadows. Look at the details, where do things overlap, how do textures intersect, are there tension areas. Tension occurs when angles or curves intersect and present unnecessary focal points. After sitting with your still life for some time, think about placement on your drawing paper, do not just start in the center. Consider how objects may fit and how or where they may extend off the edge of the picture plane. Items rarely need to be placed exactly in the middle of the composition; drawings are typically more attractive when things are off center.
- Look at the subject – a lot.
- Observe light and details.
- Consider placement on paper.
- Be aware of your composition.
- Do not erase, this is a sketch.
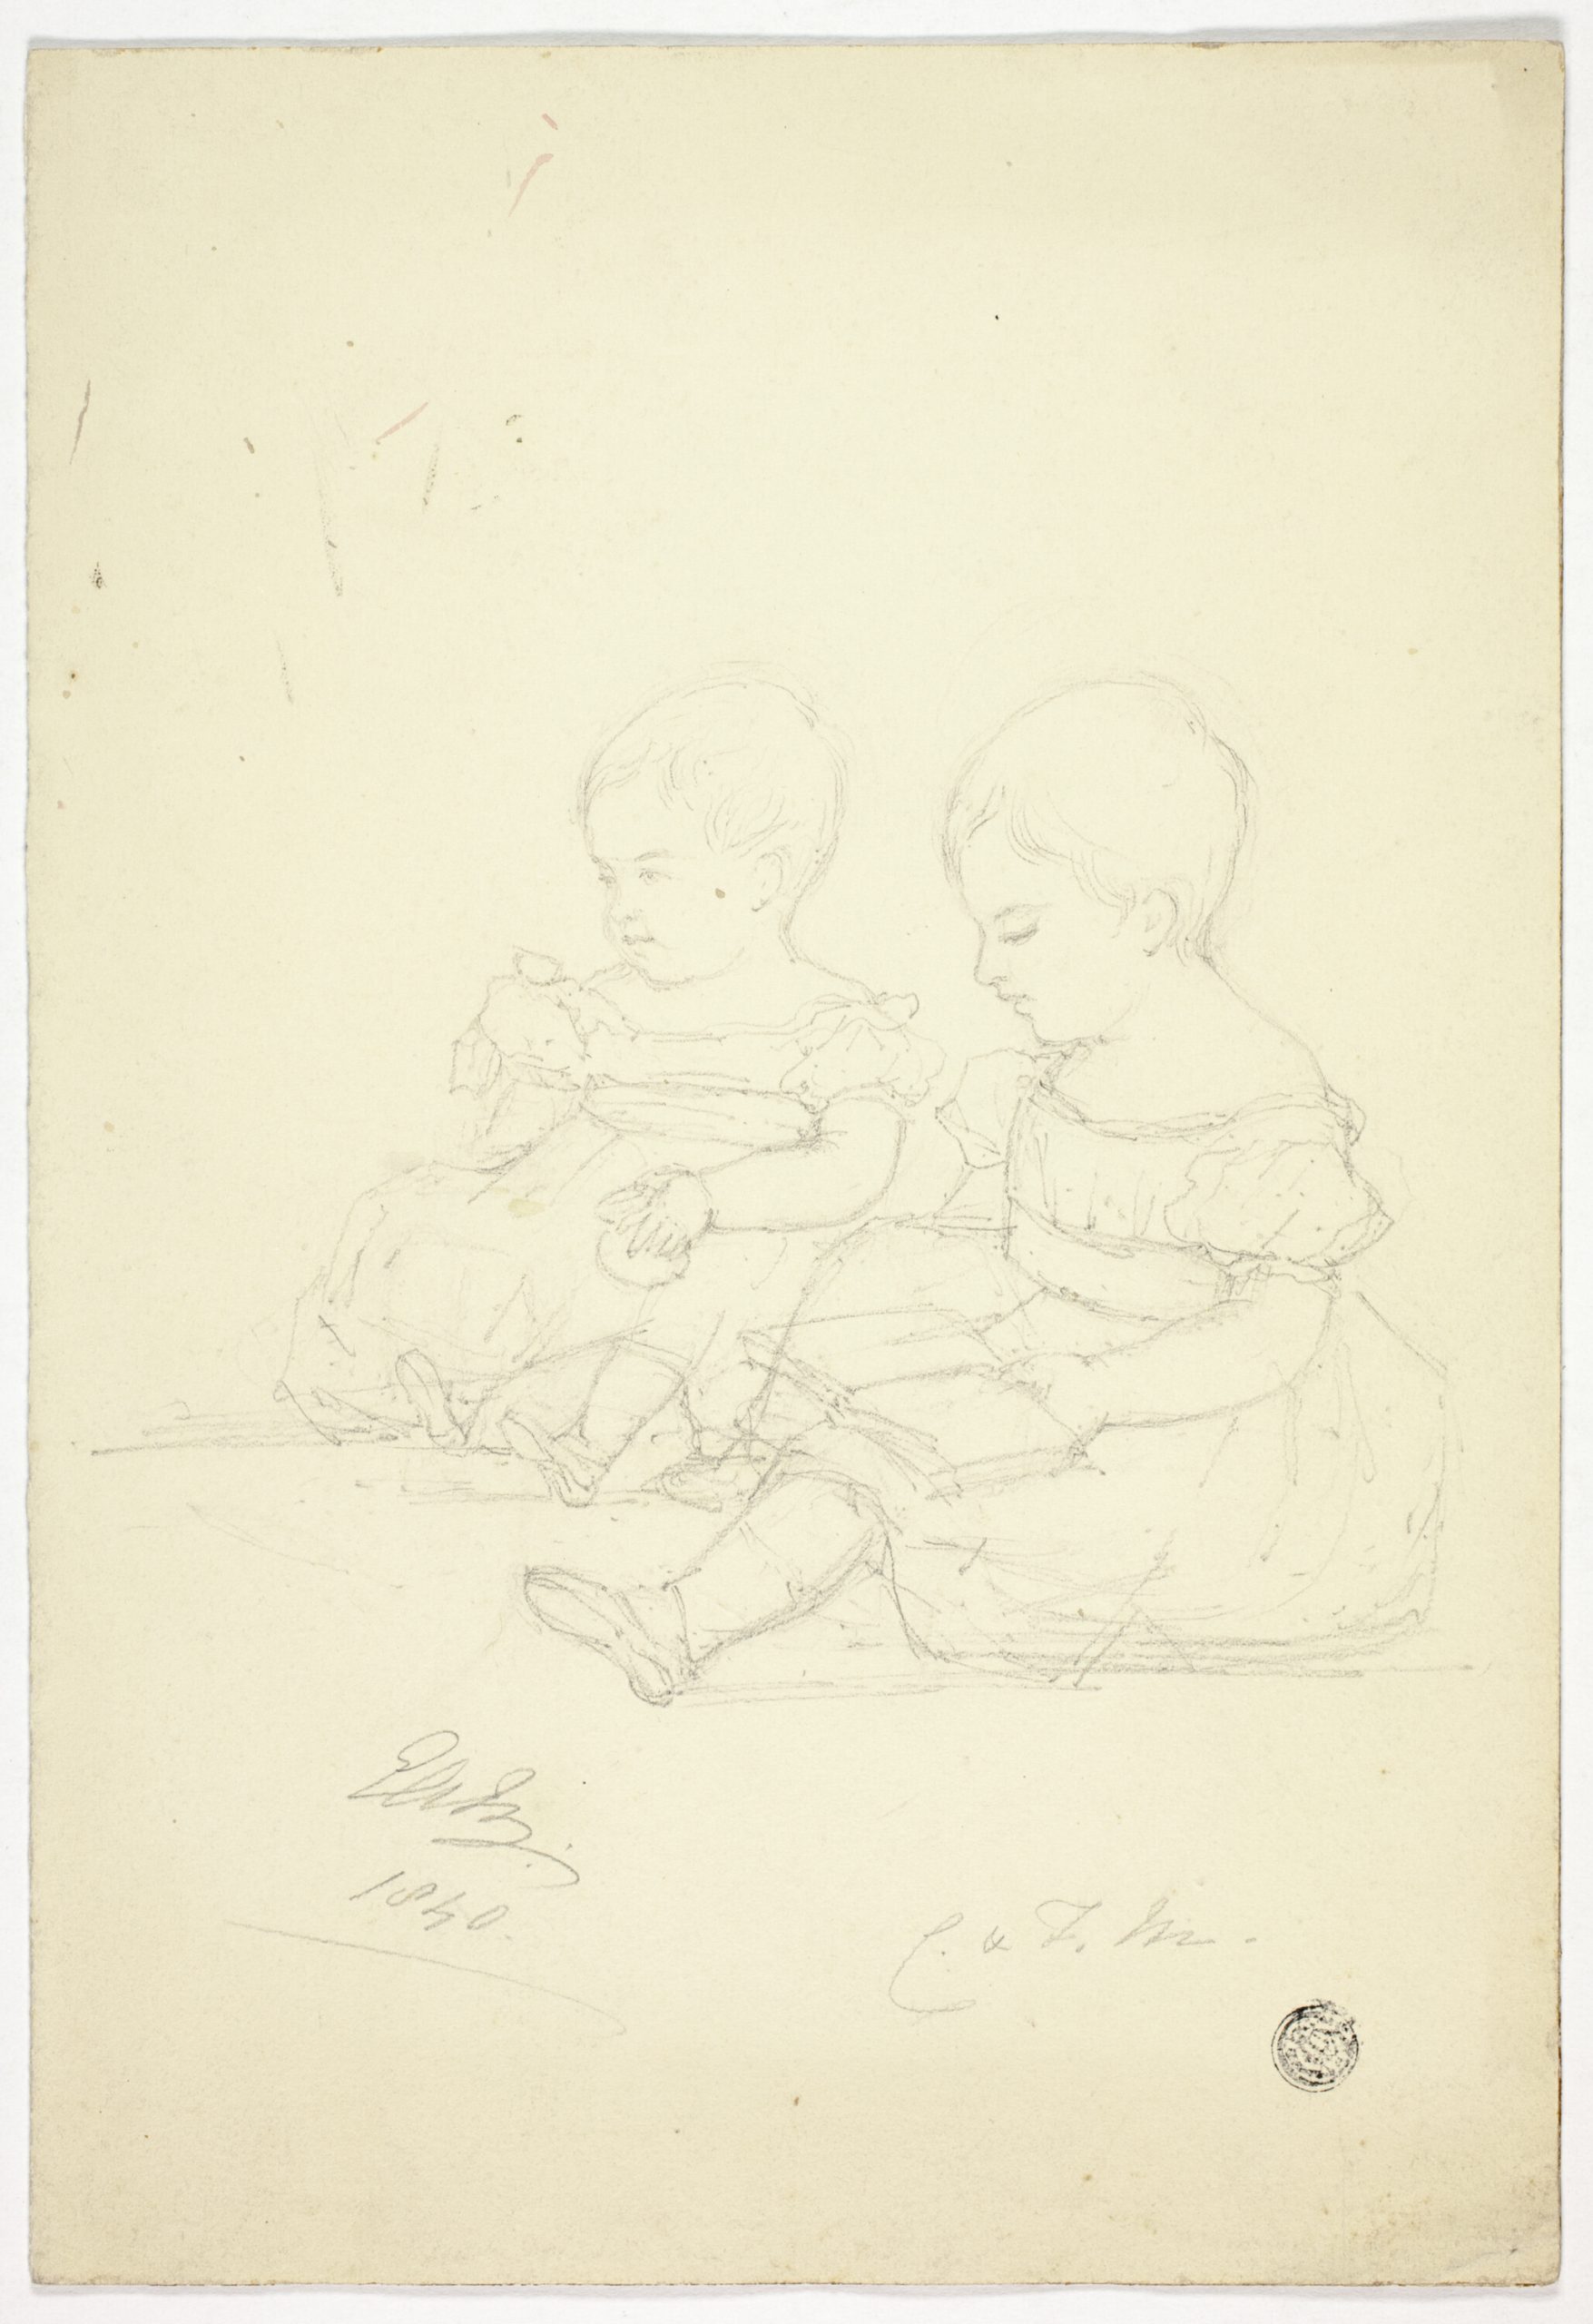
Start with some contour drawing.
Blind Contour:
Study your foot or shoe for a moment. Set your sketchbook off to the side, rotate your torso, so you cannot see your drawing while you observe your subject. Set a timer for at least 3 minutes; draw the entire time, don’t stop! Using a ballpoint pen, make a blind contour drawing of your foot/shoe, fill the entire piece of paper with the line, details, and textures observed. If your pen drops off the edge of the paper, just pop back on; without looking at your sketchbook.
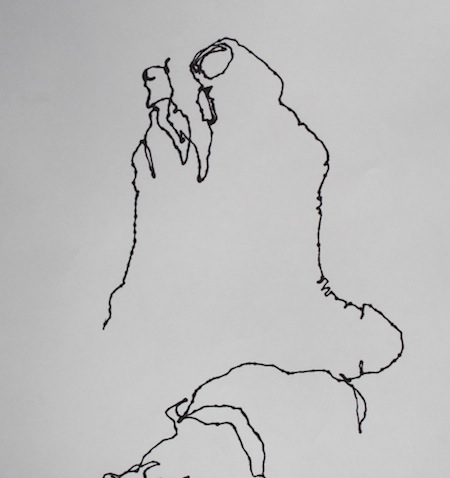
Continuous line contour:
Make a line drawing of the room you are sitting in, include as much of the room and furniture as possible. It should look like a panoramic image, so splay your sketchbook out flat and use two sheets of paper. Create the drawing with one continuous line, do not to lift your pencil or pen. It is okay if you go off the edge of the paper, just hop back on where you dropped off.

Reading assignment:
Di Vinci: Read about Leonardo Di Vincis inventions, study his drawings and descriptions. How does line help him create objects and draw things from his mind’s eye? What sketch or project resonates with you and why? Is there an object or concept of your own that you want to design or research? Take notes and sketch something that fascinates you.

Writing assignment:
Define Line: Go to the antiracist website locate and select three artworks that emphasize the use of line. Describe how and where the artists use it and what aspects attracted you to their work.
Things to consider when thinking and writing about their art:
What is happening in the composition, how do your eyes move across the surface area? Is there a directionality with the image, marks, or design? What type of line and media is used? 150 words per artwork.
Large project
Still Life: Line is a free-flowing manifestation that begins at an artist’s shoulder, moves down to the elbow, to the wrist and through the grip of the fingers. Even though it may be a controlled motion, it can be maintained with a loose and comfortable posture. Look often, really see objects, observe all the surroundings.
In every intro drawing class, the assignments begin with a still life. The first steps are to set up a collection of objects on a tabletop, grab all drawing materials, and get situated. Pay attention to how your objects overlap, interact, and affect each other. Lightly sketch the objects on your paper and compose everything in a way that fills your entire paper (picture plane). Locate negative shapes and space. These open areas around your subject can help you proportionately and accurately draw everything. The confident use of line will help you achieve a unique and successful work of art. Tips for setting up a still life.
After several sketchbook sized still life practice, move to larger format paper, roughly 19”x24”. How to set up a still life –
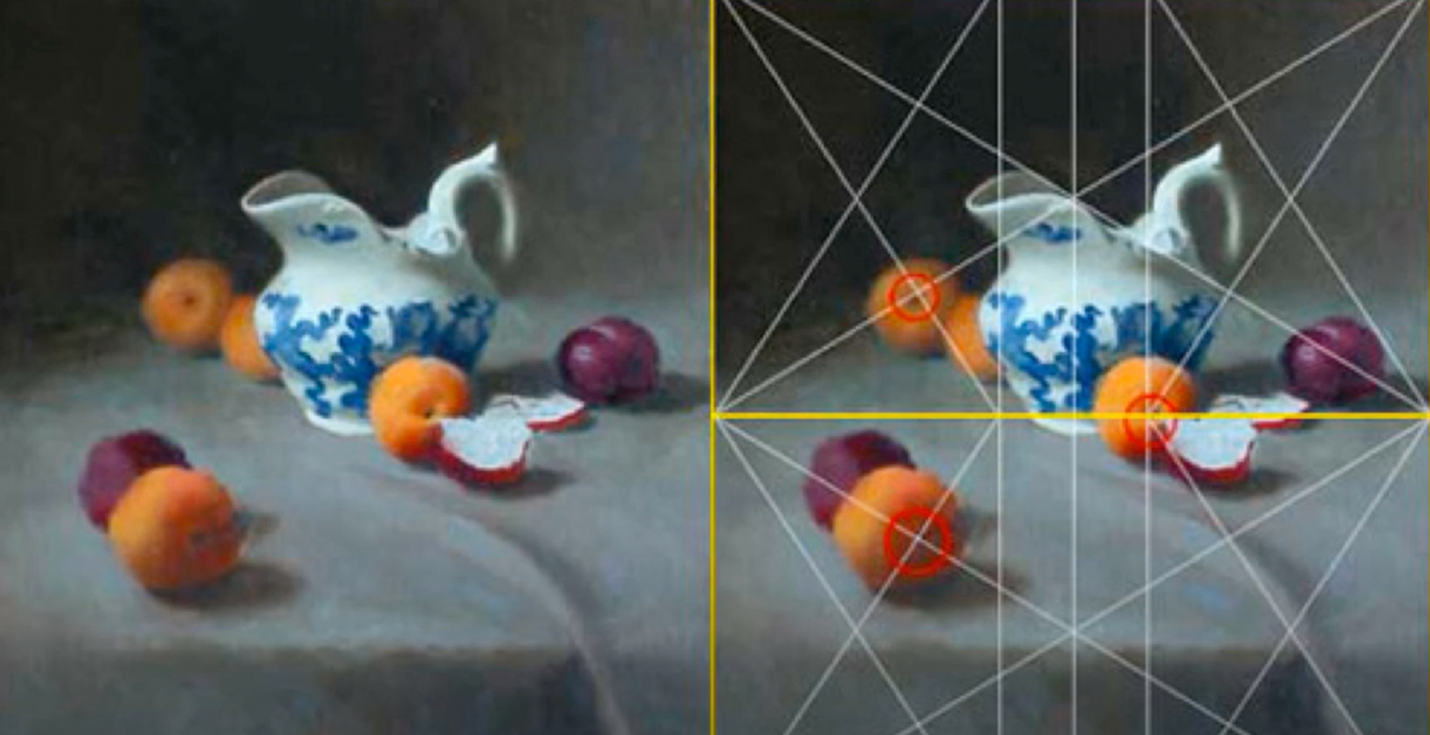
Still life composition in graphite
Start off with drawing contour lines, map out the entire composition and don’t use your eraser until you have everything in place. Keep your pencil lines light and extend your subject off the edges of the paper. When your composition is in place and your objects are proportionate, start to incorporate shadows and table surface (in this case fabric) into the drawing, you do not want your objects to look as if they are floating. Use any type of line or any combination of line to develop contrast, detail, and interest in your drawing. Review the images above or the videos in the defining media section for guidance.
Artists to research
Alberto Giacometti drawings
Cy Twombly (broken/ implied)
Wang Dongling (calligraphic)
Abanindranath Tagore (delicate line)
Kathë Kollwitz –drawings & prints (gestural/implied movement)
Aung Myint (meandering line)
Christine Ay Tjoe (line builds shape)
