
72 Image Editing
You can edit your images from within the Pressbooks platform. These tools will be familiar to you if you’re used to working with images in WordPress. For best results we generally recommend first editing images outside of Pressbooks, but the features explained in this chapter can be useful if you don’t have image editing software on your device. Below we’ll explain the following concepts:
Basic Image Details
To edit an image that you have already upload into a chapter, follow these steps:
- Select the chapter containing the image you’d like to edit and access the visual editor
- Click the image so that the image toolbar appears
- Click the Edit “pencil” icon on the image toolbar

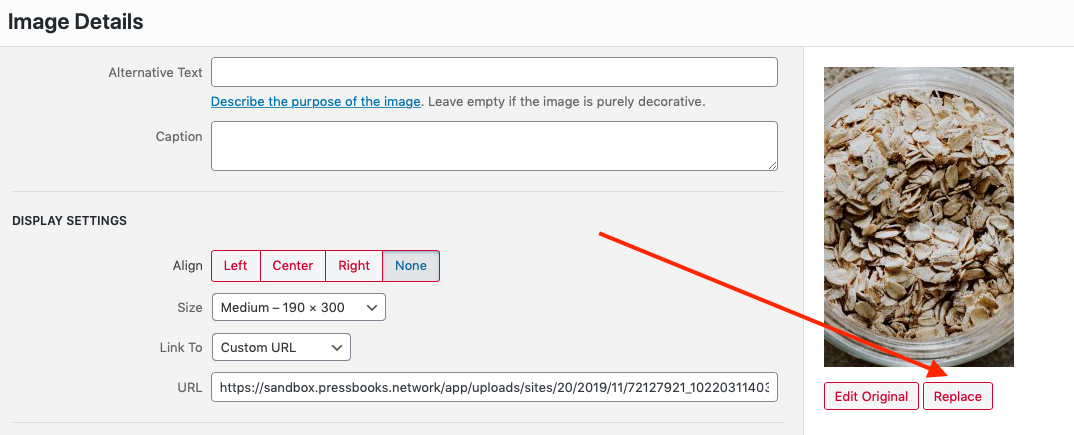
This will open up the Image Details window, which includes a number of basic image settings.

In this window, you can:
- Add a caption
- Add alt text
- Select an alignment for the image
- Set the image’s size
- Link the image to its attachment page, its media file, or a custom URL
- Set an image title attribute
- Set an image CSS class (see more in the Custom Styles chapter of this guide)
- Edit image link settings
To access additional image editing options, select the Edit Original button beneath the image on the right side of the Image Details window. This will bring you to the Edit Image settings.
Additional Image Editing Settings
Once you’ve opened the Edit Image window you’ll have access to additional image editing tools.

Available image editing options include the ability to:
- Crop
- Rotate an image left or right
- Flip an image vertically
- Flip an image horizontally
- Scale an image to your custom pixel dimensions
- Crop an image to custom pixel dimensions and aspect ratio
- Select whether customized image settings apply to the thumbnail version of an image
When you’ve finished changing your image’s settings, click Save. This will return you to the Image Details window, where you can click Update. You’ll then be taken back to the chapter’s visual editor. You can also hit Back to return to the Image Details window.
Replacing Images
If you’d like to replace a single image in your chapter, follow these steps:
- Click the Edit pencil icon to open up the Image Details window
- Click Replace underneath the image on the right side of the panel to be brought to the Replace Image screen
- Choose the replacement image from your Media Library or switch to the Upload Files tab to upload a new image in the original’s place
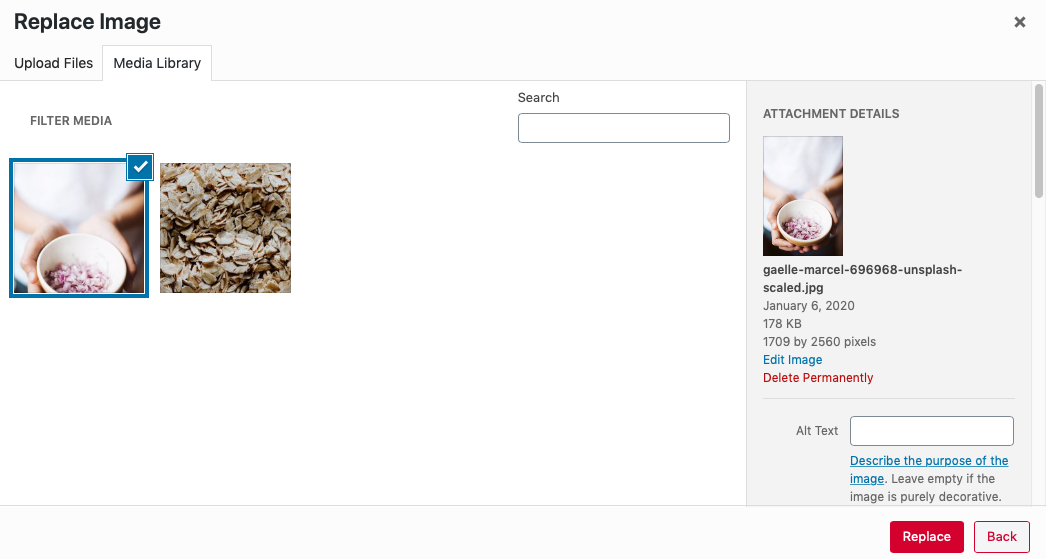
- Click Replace


You’ll be returned to the visual editor with the image replaced.
Note that the method previously described only replaces the image in the one specific location you’ve changed. If you’ve used one image repeatedly throughout your book and you would like to replace all of those images at once, follow these steps instead:
- Click the Edit pencil icon to open up the Image Details window
- Click Replace underneath the image on the right side of the panel to be brought to the Replace Image screen
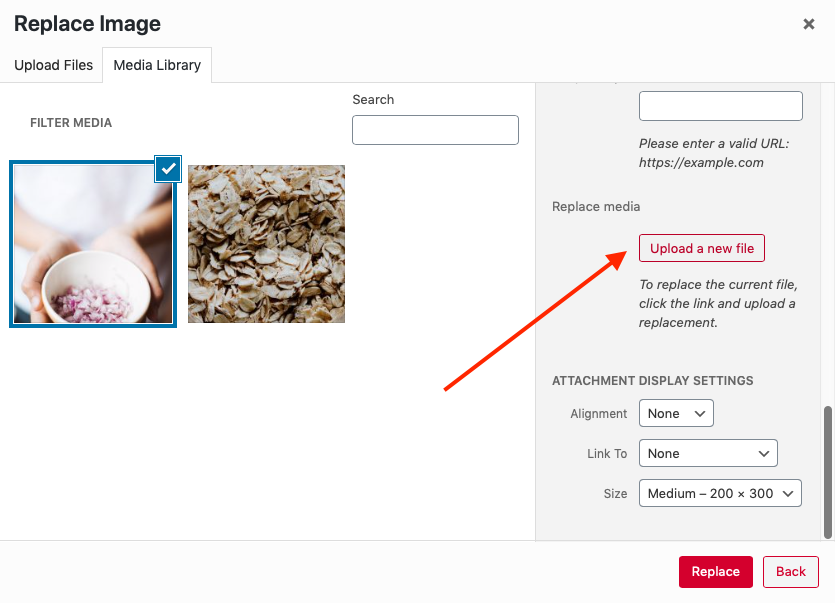
- Scroll down the Attachment Details panel on the right side of the window until you reach the Replace Media section
- Click the Upload a new file button to be taken to the Replace Media Upload page
- On the Replace Media Upload page, adjust your Replacement Options and Date Options as needed
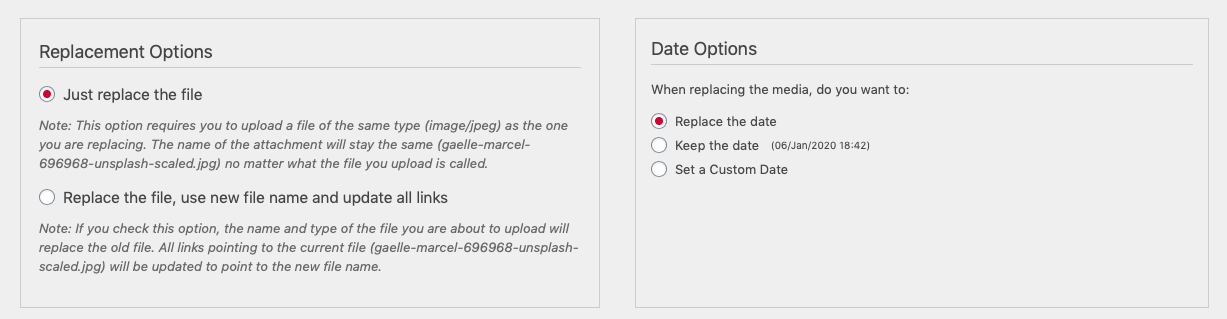
- Click the Choose File button and upload the new image

- Click Upload at the bottom of the page


After the replacement image is uploaded, you’ll be brought to the Media Attachment page for the replacement image. Navigate back to your chapter via the left sidebar menu if necessary. For more information on the Media Replace tool, see the Enable Media Replace plugin by ShortPixel on WordPress.
